


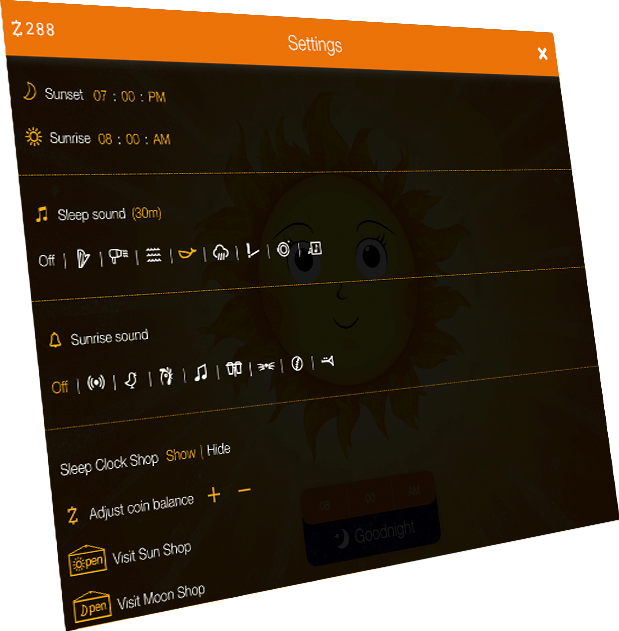


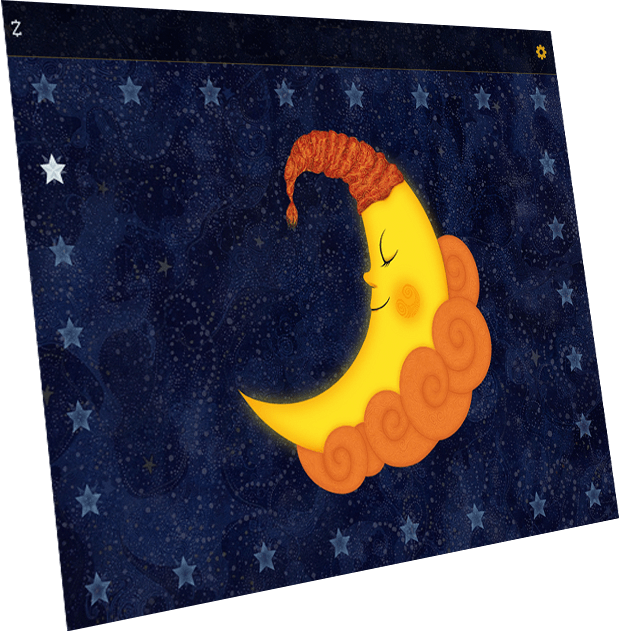

![]() Visual alarm clock app
Visual alarm clock app
![]() Soothing sleep sounds
Soothing sleep sounds
![]() Wacky wake-up sounds
Wacky wake-up sounds
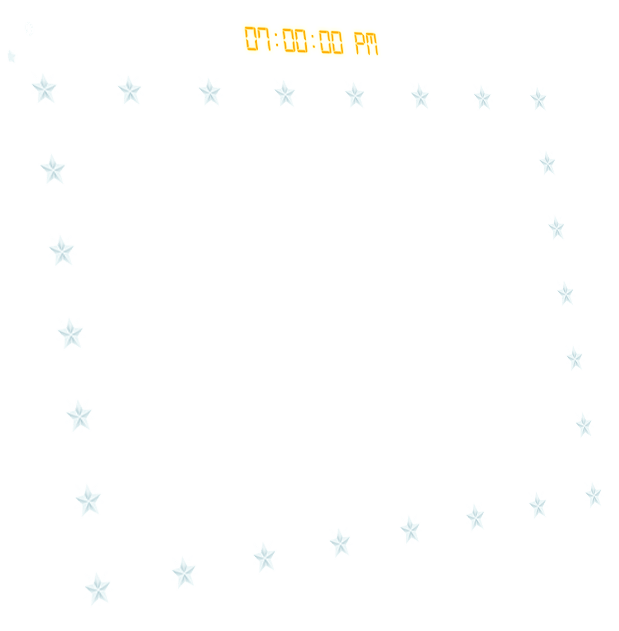
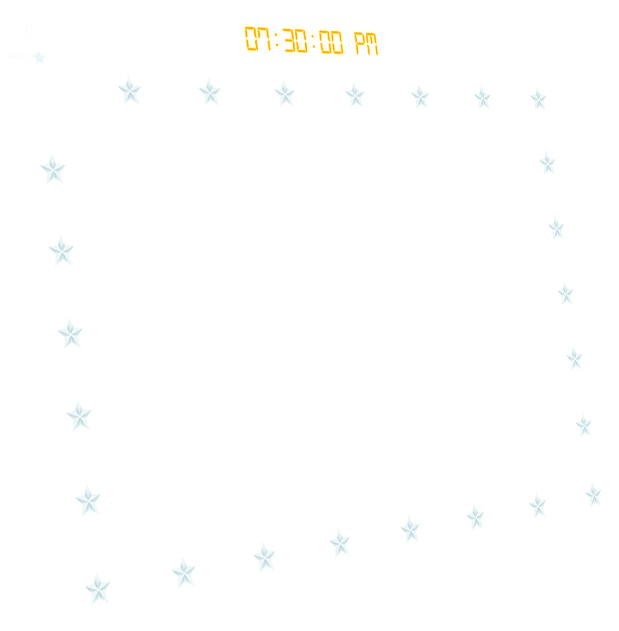
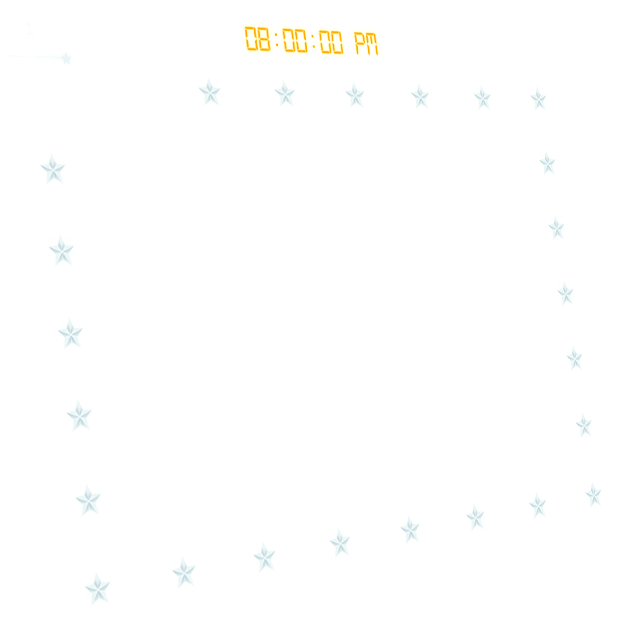
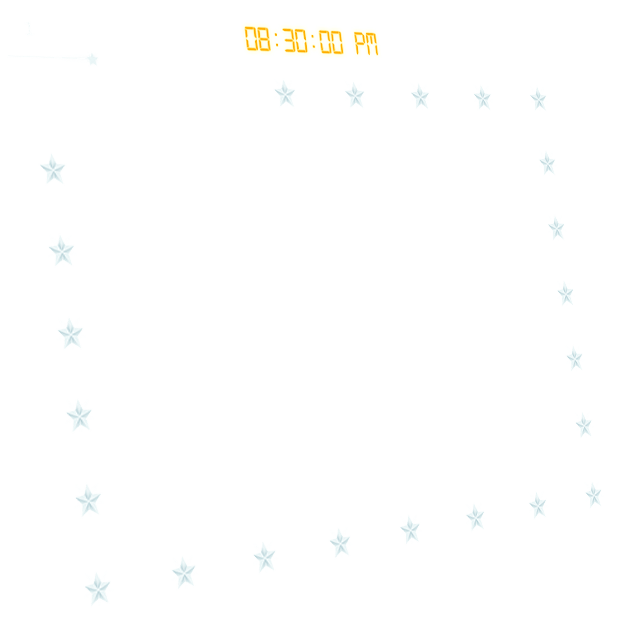
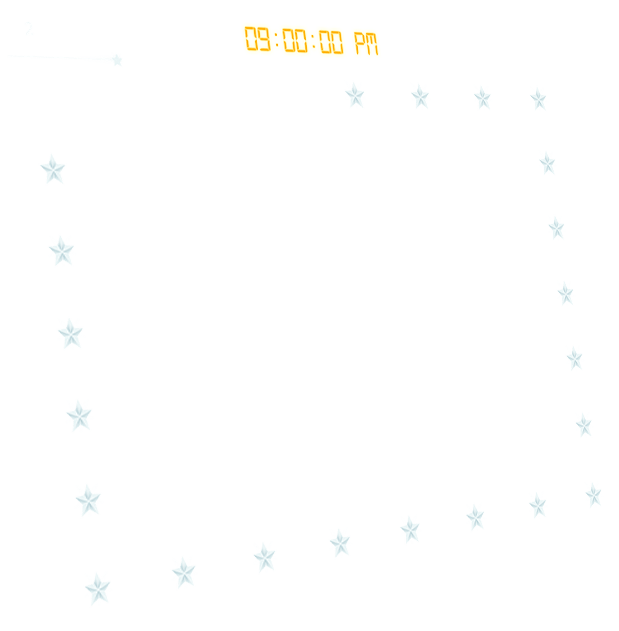
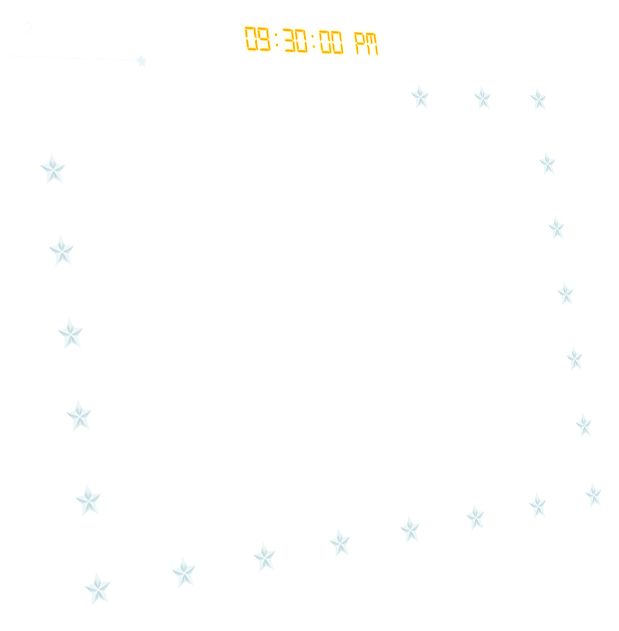
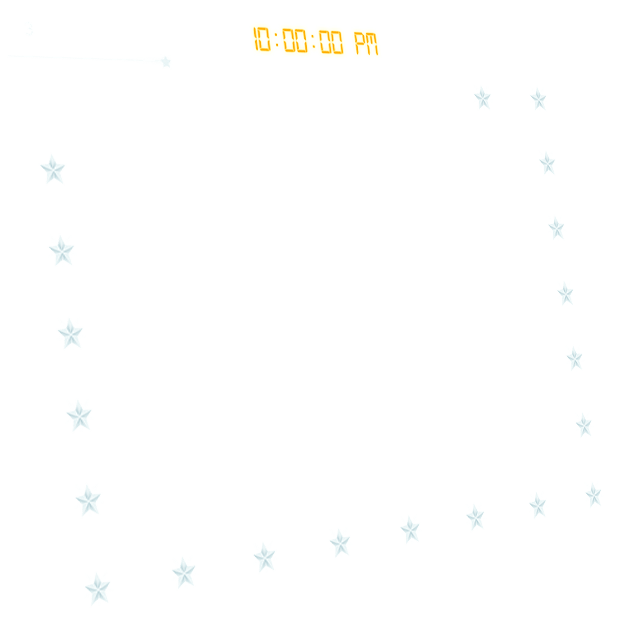
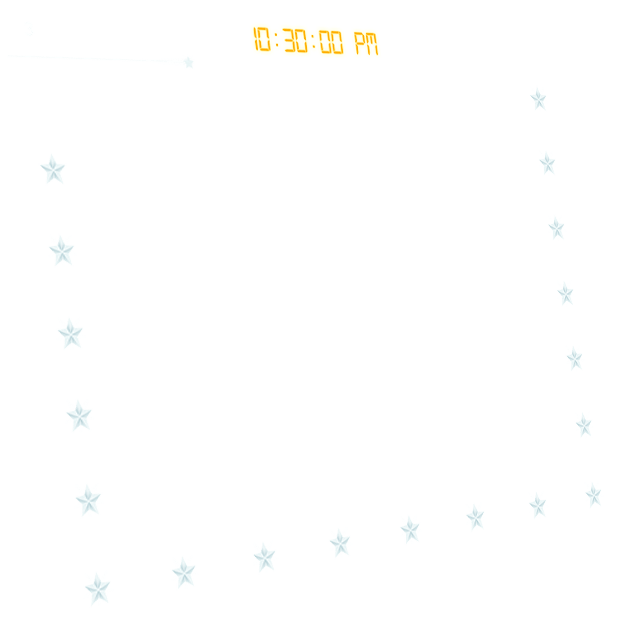
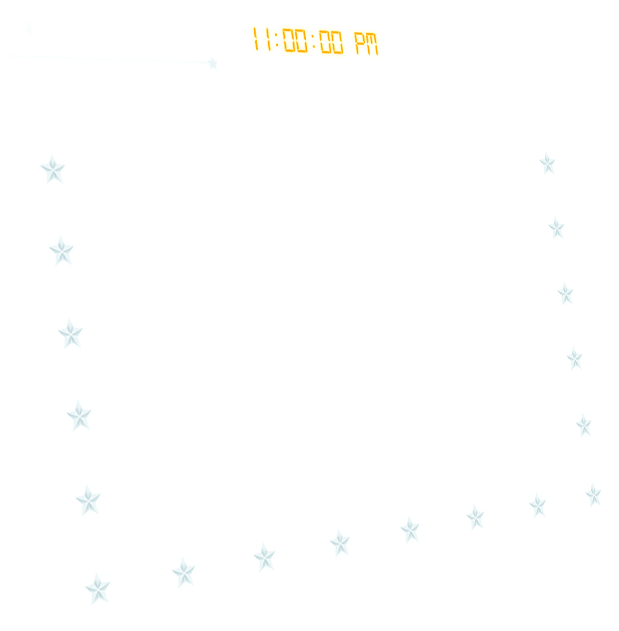
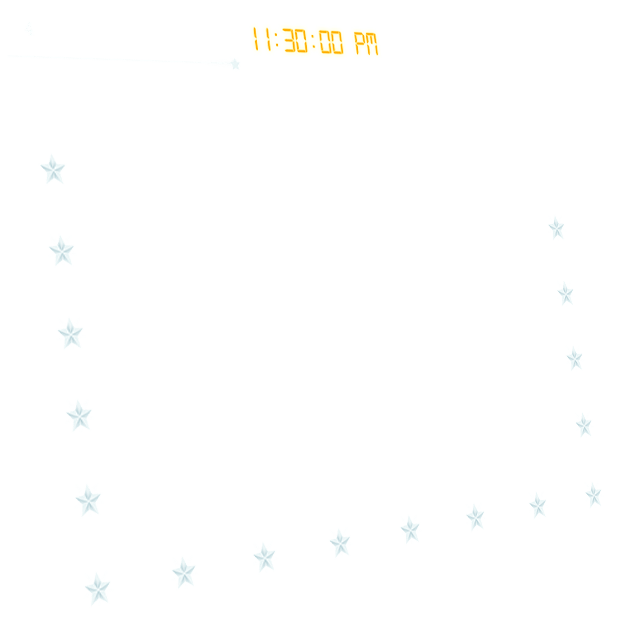
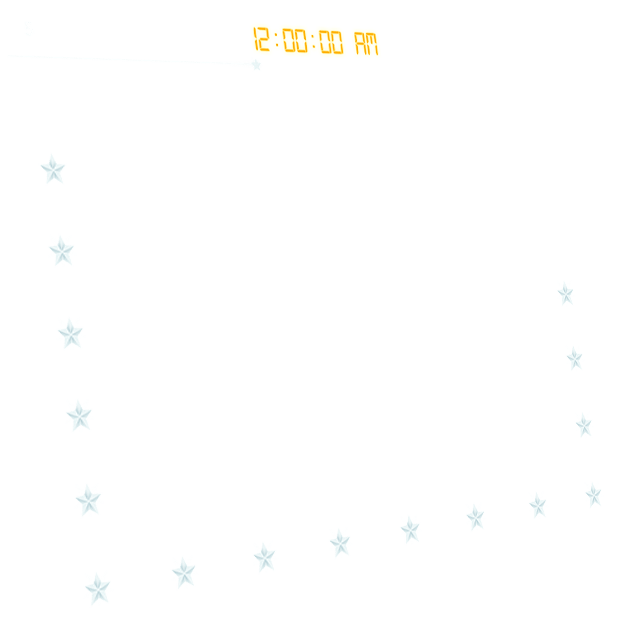
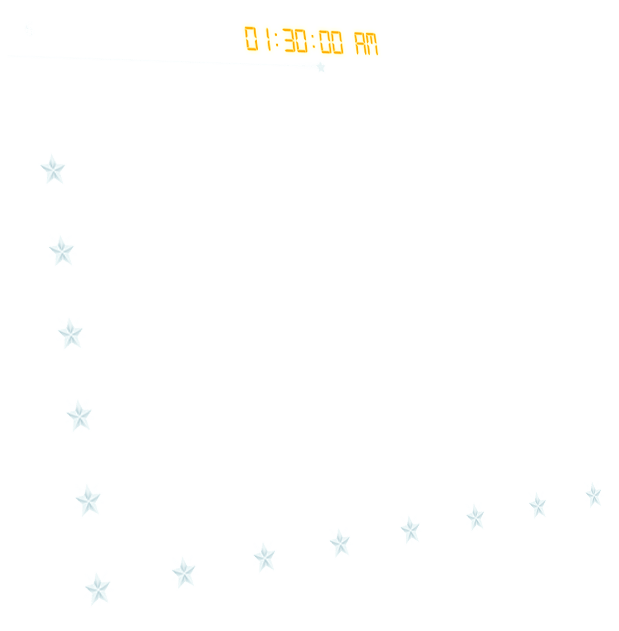
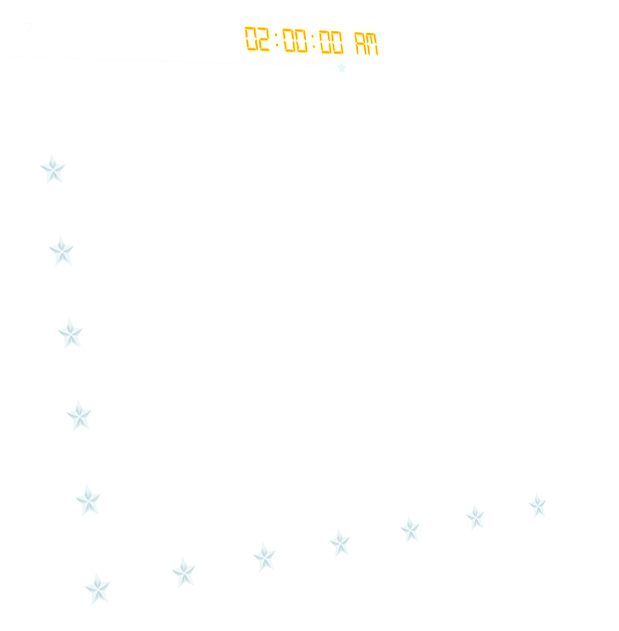
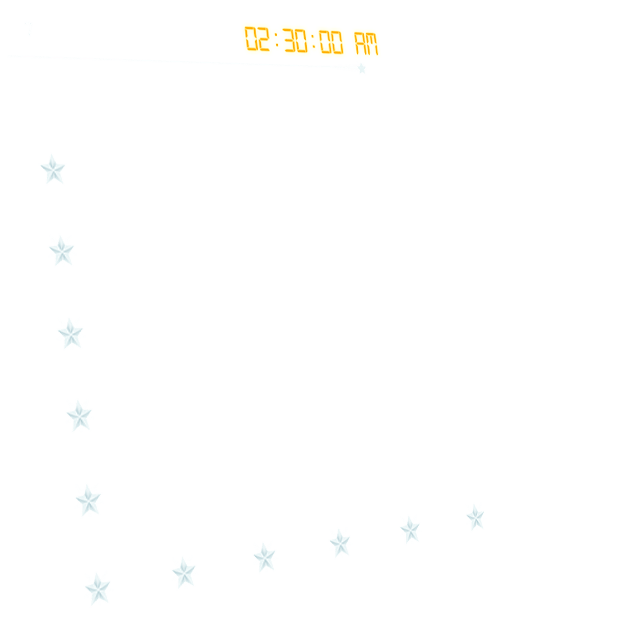
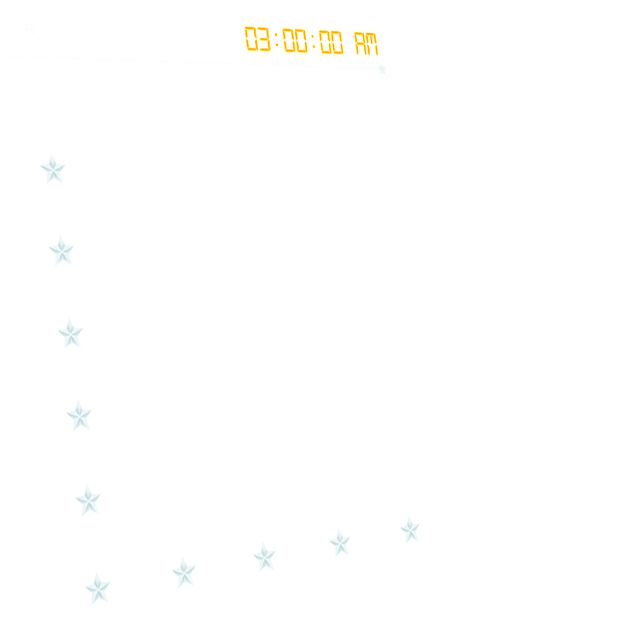
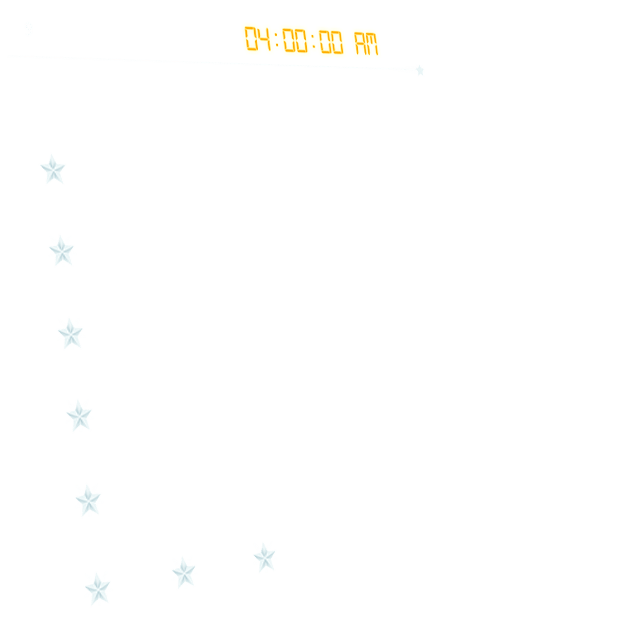
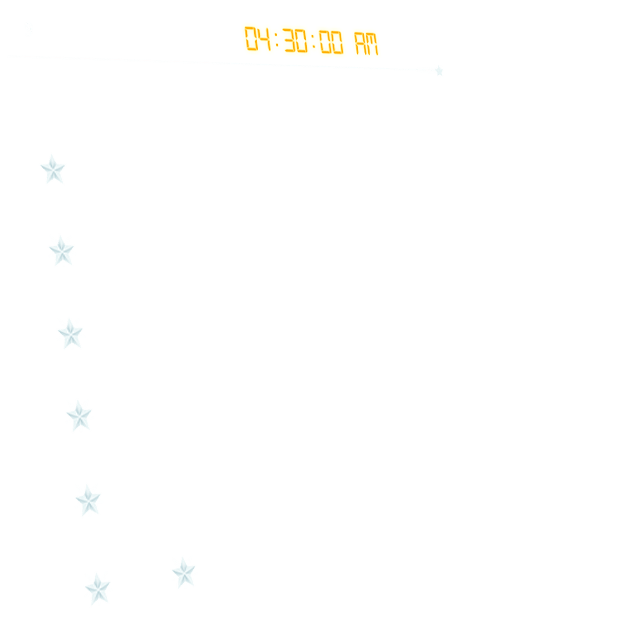
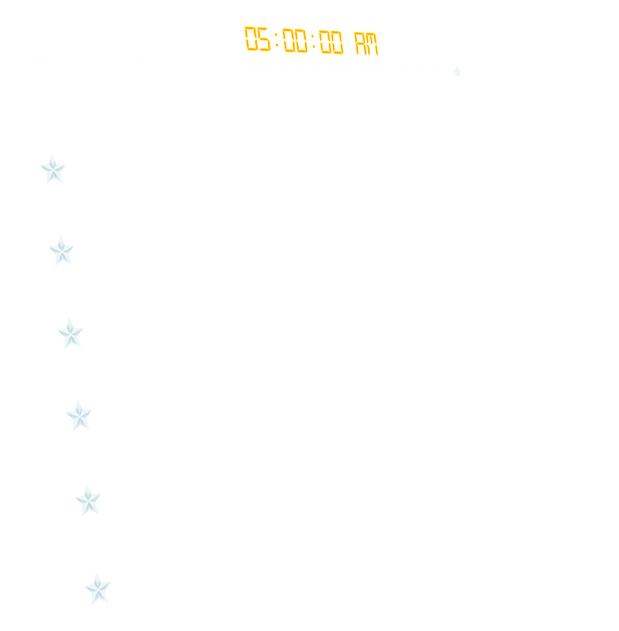
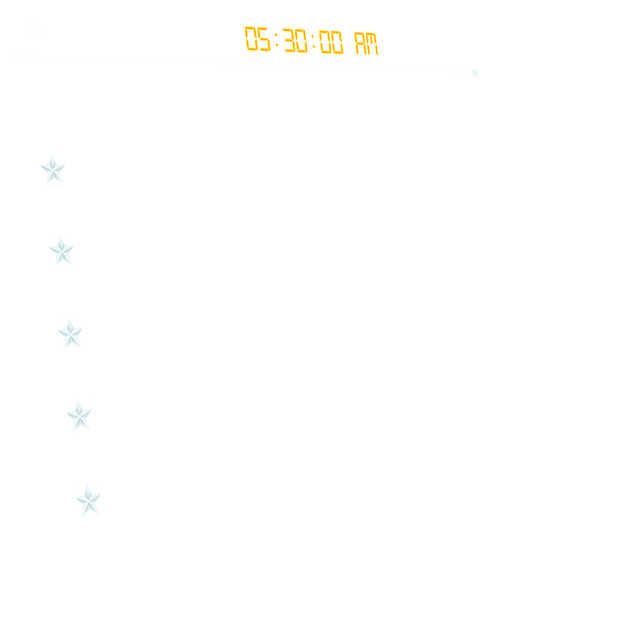
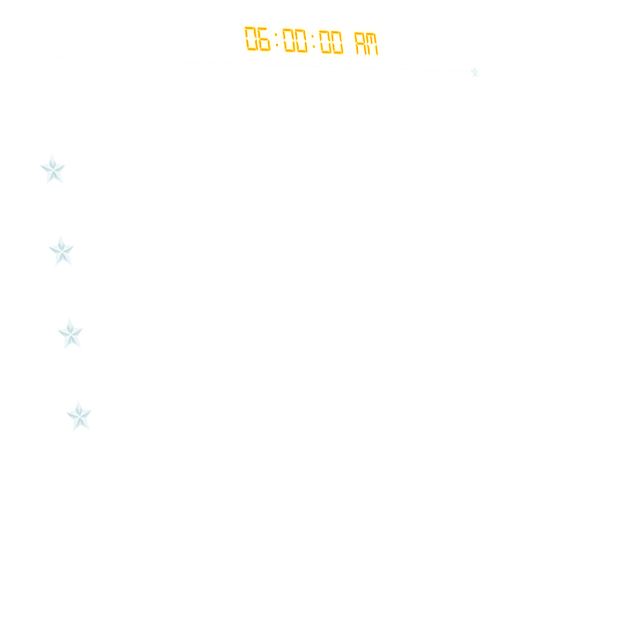
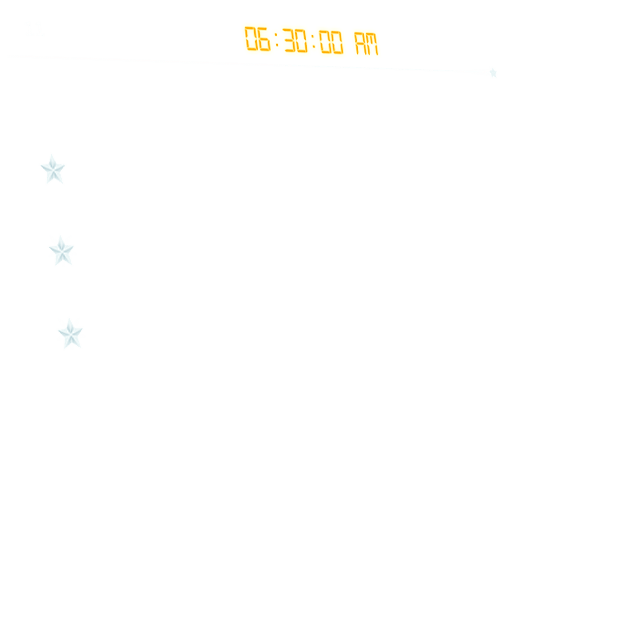
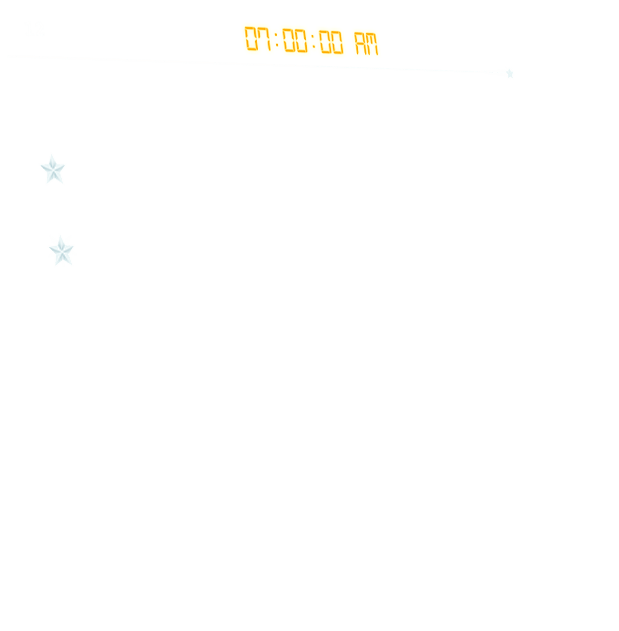
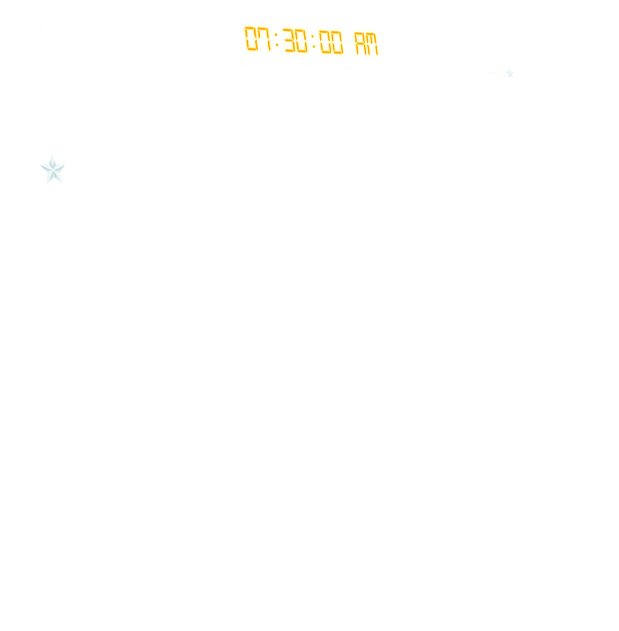
![]() Shooting star progress bar
Shooting star progress bar
![]() 1 hour = 1 Snooze Coin
1 hour = 1 Snooze Coin
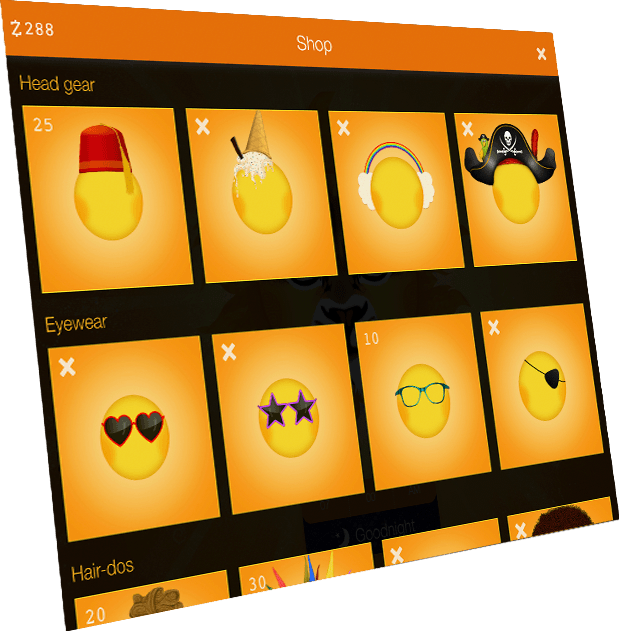
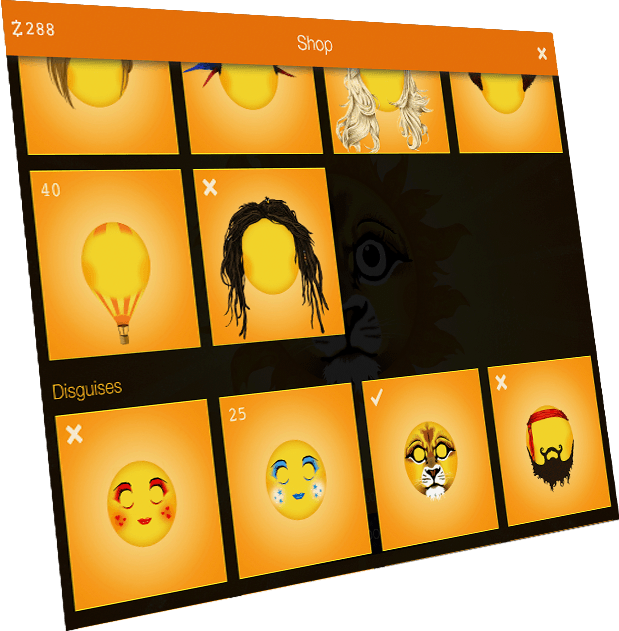
![]() Buy gifts for Sun & Moon
Buy gifts for Sun & Moon


Make an iPad / tablet stand & hologram viewer
These instructions will guide you through the process of making a cardboard iPad / tablet stand and hologram viewer for Sun to Moon Sleep Clock. The stand can be used on its own (as shown above) or you can attach the hologram viewer and select 'Hologram mode' in the app settings to give the impression of the Sun and Moon floating in mid-air.
Before you begin you will need to select your device and print out the templates. If your device is not listed then you will need to use the nearest in size and adapt it accordingly.
Download Templates
 Fire HD 6
You will need...
- All templates printed at actual size onto A4 inkjet paper
- Corrugated cardboard large enough to accommodate the combined templates.
Try to find a thickness of 2mm or less or it may be hard to bend. If you need to spit the stand template into 2 pieces, choose a fold line between the 2 ‘hidden’ markers for the join. - PVA glue & paint brush
- Heavy objects for keeping the cardboard flat whilst drying & scrap paper
- Sharp scissors
- Sharp craft knife
- Metal ruler
- Hot glue gun Sticky tape will work but a glue gun creates a neater result.
- Sticky tape
- Sticky velcro pads
- A4 Acetate sheet (hologram viewer only)
A thickness of 240 microns seems to offer the best compromise between rigidity and ghosting
Watch a video run-through
1. Prepare the templates
Trim the templates along any edges that will overlap with other templates. You can leave all outside edges as this will make it easier to cut neatly once they are glued down.
2. Prepare the cardboard
Lay out the templates on your piece of cardboard as shown on page 2 of the template PDF and roughly draw around them with a pen, marking where the templates overlap.
3. Glue the templates
Remove the templates one at a time in their numbered order and brush the revealed area of cardboard with a thin layer of PVA glue. Before applying a template, run a glue stick along the back of any edges that are going to overlap with adjoining templates as this creates a strong and nearly invisible join. Press the template down carefully onto the prepared area, making sure to align the registration marks and patterns as closely as possible with any adjoining templates.
Once all templates are applied, rub the surface gently with a clean cloth to ensure everything is well stuck down and as flat as possible. Cover the entire area with scrap paper and a layer of heavy books then leave until completely dry. This will probably take 24 hours or more.
4. Cut out your combined templates
Once the glue is completely dry remove all the books and scrap paper then cut around the outer edges of the combined template using a sharp craft knife and steel ruler.
5. Fold your stand & hologram viewer
Before making any folds, create a crease along all fold lines using a fairly sharp implement such as a paint scraper or palette knife. Fold your stand with mountain folds along the stars and valley folds along the chevrons then place your device inside and align all the edges.
If you wish to plug your device in during use then you will need to cut a slot in the access flap large enough for the connector to pass through.
6. Glue your stand
Use a hot glue gun (or tape) to stick three of the four edges down, leaving the fourth as an access point for your device. Stick the small folded 'L' shape template into the lower section of the access point to use as an anchor for the velcro tab.
Glue the shooting star onto the top flap of the hologram viewer.
7. Stick velcro tabs
Stick a velcro tab onto the stand's access flap and to the corresponding point of the 'L' shaped anchor which should now be secured inside the stand.
Velcro tabs can also be used to secure the hologram viewer to the stand. If you do not want the tabs to be visible on the stand when not using the hologram viewer you may wish to use a more temporary method of securing it or just position it unsecured.
8. Tape acetate onto hologram viewer and attach to stand
Lay your hologram viewer out flat with the templated side facing down and ensure that the acetate covers the aperture with a slight overlap. Pull the acetate taut and tape along all edges to secure it in place.
Lay your stand down flat on it's back and position the hologram viewer around the back. Switch Sun to Moon Sleep Clock into 'Hologram mode' and slip it into the stand before viewing in a dark room.